Let the user add an image
Table of contents
Allow a user to add the image
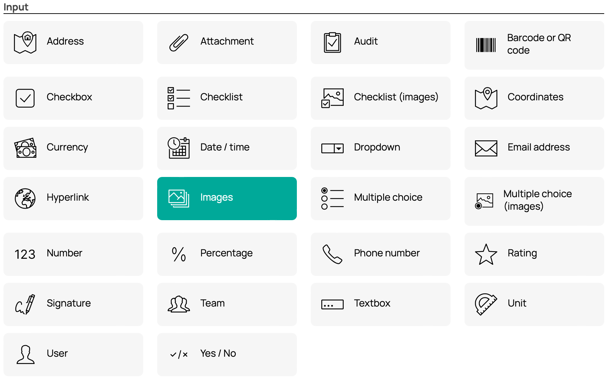
To let the user add an image, add a new element and then select the "Image" element under "Input".
After adding the element, you will receive a pop-up window with the settings for the element, where you can fully customize the element to your liking. You can also view the "Display settings" on the left side.
General settings
Let's start with the general settings of the element.
Label and Text
Using a "Label" and "Text", you can provide a description. This value will be displayed for the user and in the document, unless otherwise specified in the other settings.
Input mode
Here, you can choose whether the user can add an image or photo via a smartphone, tablet, or browser. You can also move added images using Incontrol. For this, use the input method "Linked to another image element". In the article "How do you move an image or photo?" you can read everything about it.
Width of an image on the document
For your reporting, it is important to set how much space an added image will take up. By default, an image takes up half of the available space. This means that two images can be placed side by side in the available space. The available space is the width of the column where the element is placed. See below for clarification, where the images take up half of the available space.

Ratio of an image on the document
It is also possible to display an image in a specific ratio in your final report, so that you can style it exactly as you like. There are multiple ratios possible. In the above image, you see the standard ratio of 4:3. For a tablet or smartphone, this means that if you make photos "landscape", they will fit exactly in the correct ratio. A 3:4 ratio means that if you make photos "portrait", they will fit exactly in the correct ratio.
You can also make a "portrait" photo and display it in a 4:3 ratio. The portrait photo will then be scaled within the available 4:3 ratio. Additionally, there are other ratios available to select from. Below is an example for clarification.
As you can see, by using slim ratios and correctly sizing your photos, you can create an overviewable and beautiful report.
Image border style
You can also choose to give the image a border or not. In the above example, the image has a border, as you can see. The border takes up the ratio as specified above. If you turn this off, it will not be visible.
Max images
Here, you set how many images a user can add maximum. Very handy to keep your reports from getting too large.
Required
Specify whether the user must add an image to complete the form. If this is checked, the form cannot be completed without an image.
Values
Using values, you can allow users to add notes, for example. Via the "+ Value" button, users can easily add a value. Give the value a name and users will see it after adding an image. Via the "Import" button, users can enter multiple values at once by separating them with a "return". See below for an example, where one value has been added with "Note".
Display settings
On the left side, you can also view the "Display settings" by clicking on the gears. Do you want to know more about changing the display of an element? Read our article "How can I change the display of an element?"